The Modern HR Onboarding Checklist: Automate New Hire Paperwork
The first day for a new employee should be about excitement and integration, not a mountain of paperwork. Yet for many HR departments, onboarding is a frantic race to get forms filled out correctly. Tax forms, policy acknowledgements, direct deposit authorizations, I-9s—each one requires the same employee data to be typed over and over again.
This manual, repetitive process isn't just inefficient; it's a breeding ground for errors that create payroll delays and compliance risks. It also creates a clunky, impersonal first impression for your new hire.
There is a better way. By shifting your approach from manual data entry to an automated, profile-based workflow, you can cut the entire process down to a fraction of the time. This checklist outlines a modern approach to new hire paperwork.
Step 1: Create the Master Employee Profile
The foundation of an efficient onboarding system is the Master Employee Profile. This is the single source of truth for all information related to a new hire. Before you send a single form, you or the employee should fill this profile out once with complete accuracy.
A complete profile should include:
- Personal & Legal: Full legal name, address, Social Security Number (or equivalent), date of birth.
- Job Details: Job title, department, manager, start date, employee ID.
- Payroll Information: Bank account details for direct deposit.
- Emergency Contacts: Name and phone number for their designated contact.
Once this profile is complete, it should be locked, reviewed, and ready for reuse.
Step 2: Build Your Onboarding Packet Template
Most new hires fill out the exact same set of forms. Instead of finding them one by one, group them into a standardized Onboarding Packet Template. This template might include:
- Federal Tax Form (W-4)
- USCIS Form I-9
- State and Local Tax Forms
- Direct Deposit Authorization Form
- Company Handbook & Policy Acknowledgements
- Emergency Contact Form
With a template, you never have to worry about forgetting a document. You can create different templates for different roles or locations as needed.
Step 3: Auto-Fill the Entire Packet in One Click
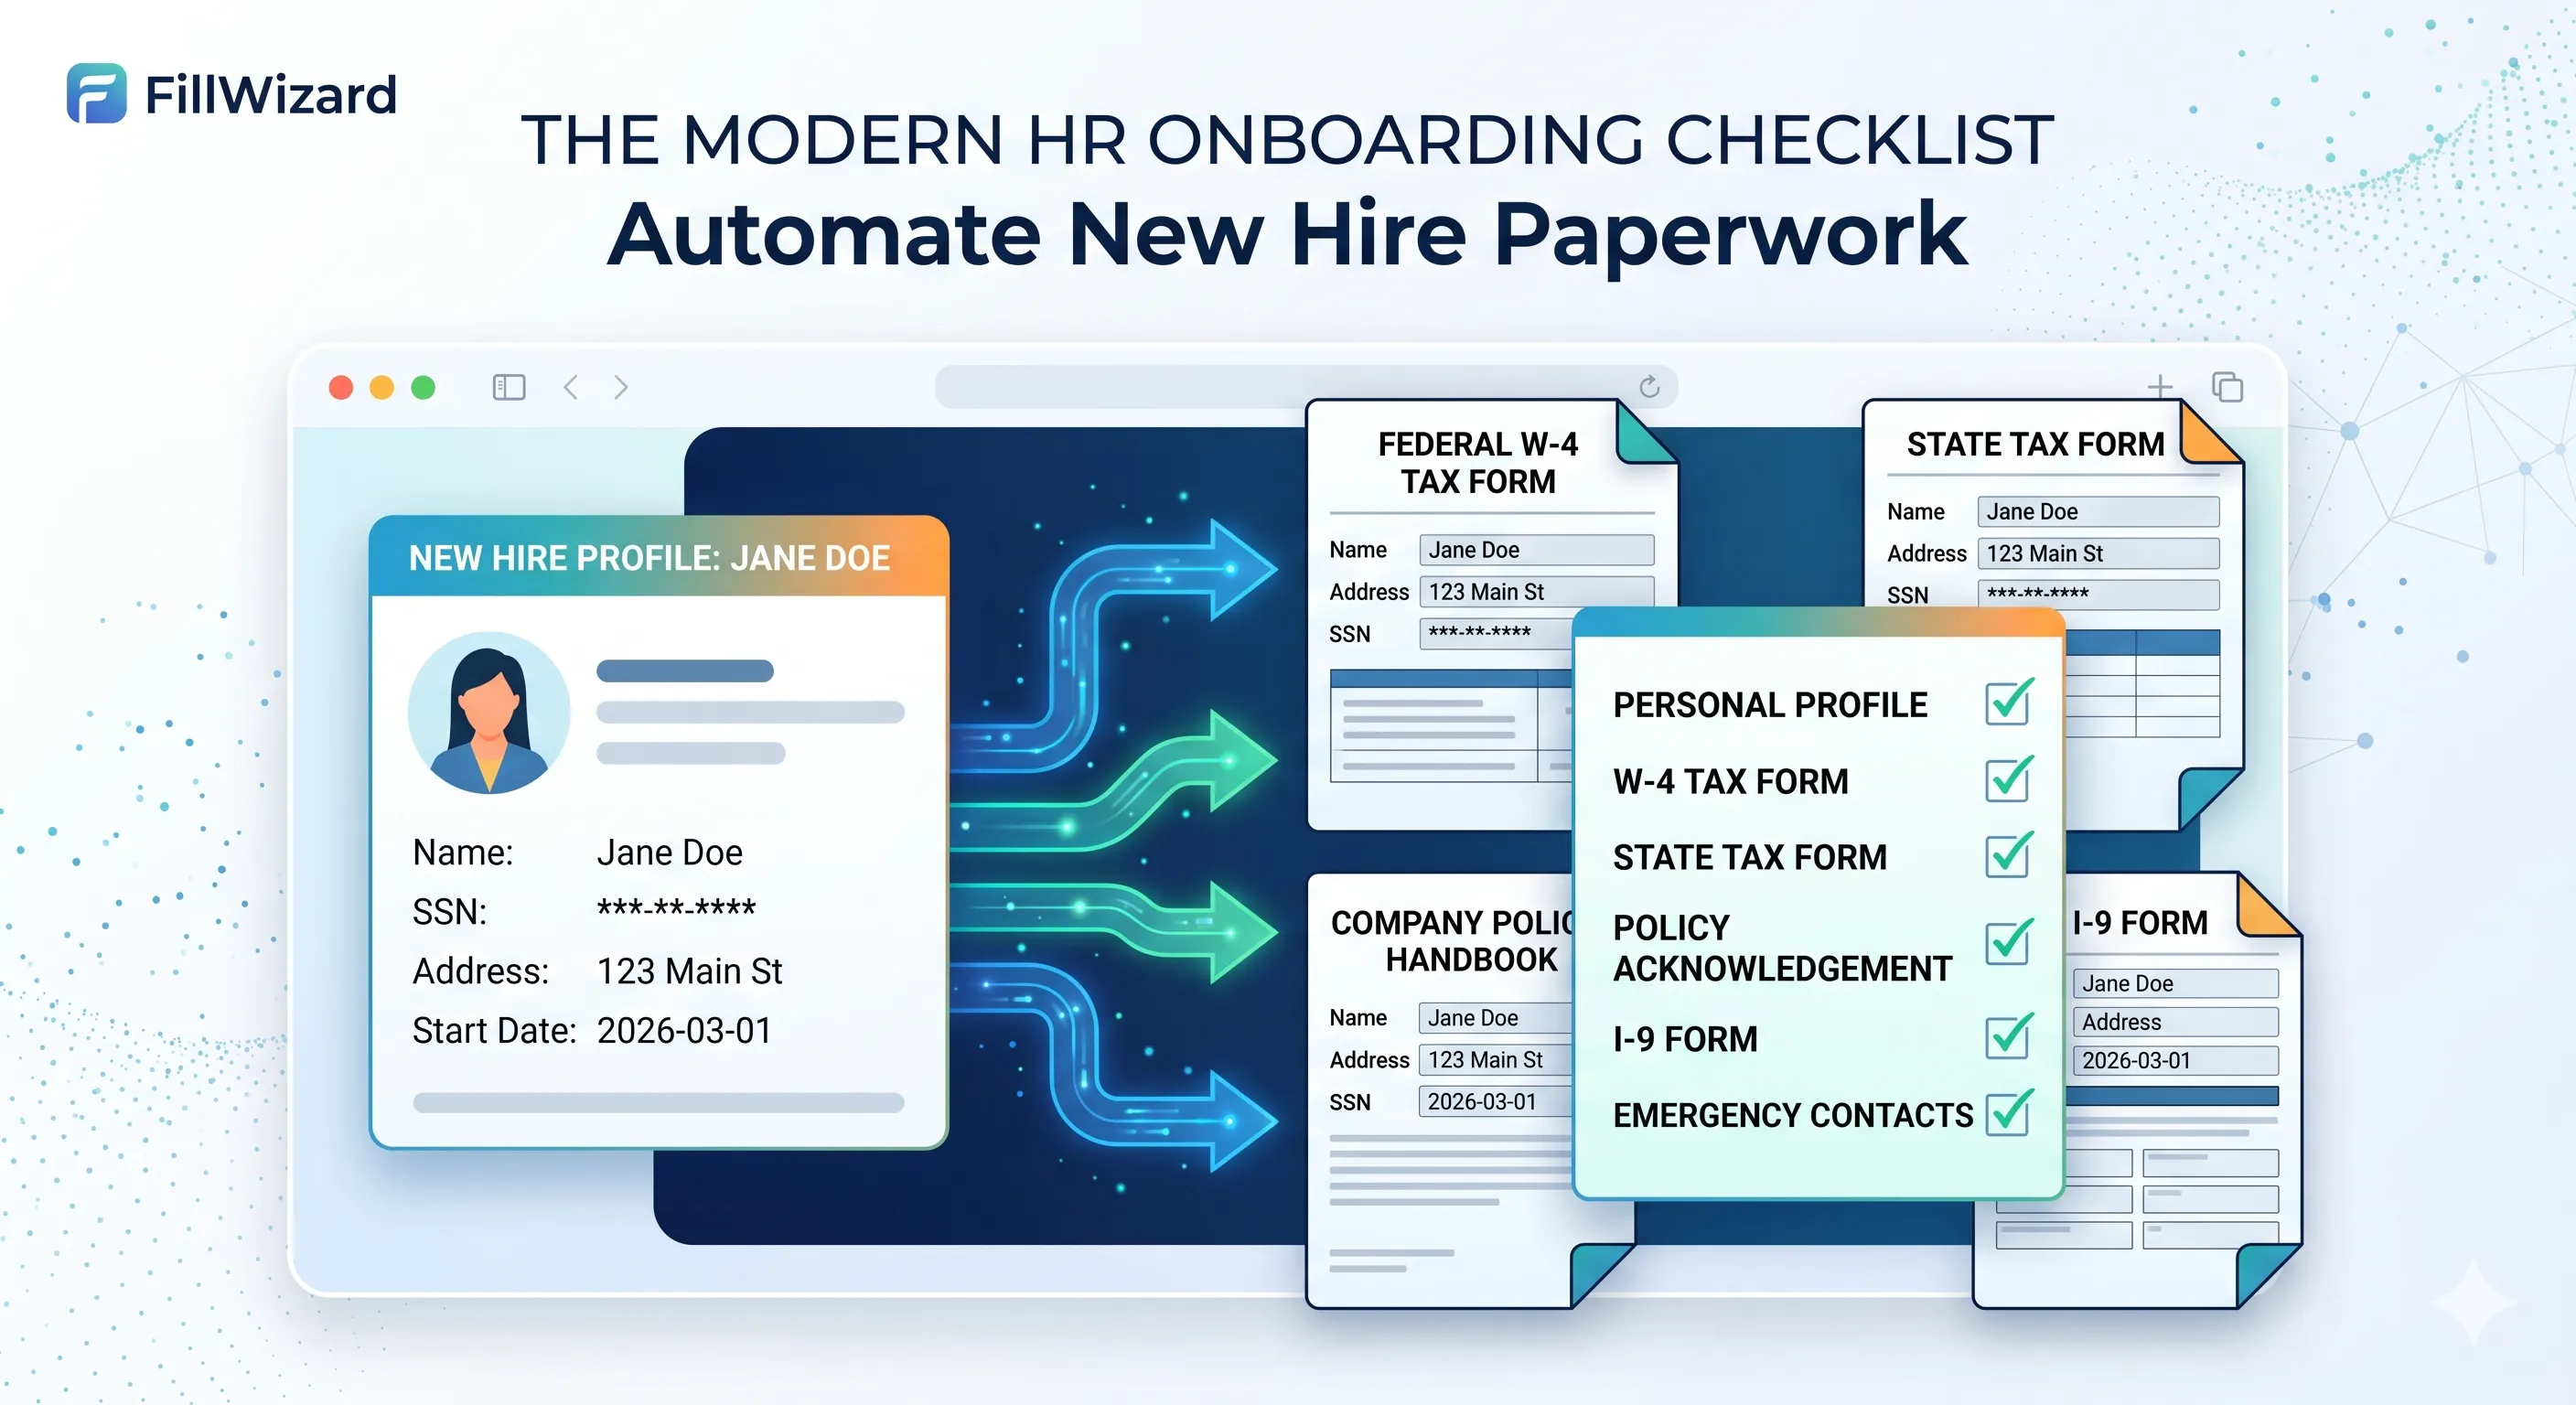
This is where you see the biggest time savings. Instead of opening each PDF and manually typing the employee's information, you use a system to apply the Master Employee Profile to the entire Onboarding Packet Template at once.
A platform like FillWizard is built for this. You select the employee's profile, select the onboarding packet, and the software instantly populates every relevant field across all documents. Name, address, SSN, start date—it all appears in the right place, perfectly consistent.
Step 4: Focus Your Review on What Matters
Your role now shifts from "data entry clerk" to "strategic reviewer." The vast majority of the data is already filled and correct. Your manual review should focus only on the fields that require a human touch:
- Signatures: Are all signature lines properly marked for the employee and/or HR manager?
- Policy Elections: Did the employee opt into the 401(k) plan? Did they acknowledge the company handbook?
- Withholding Allowances: What choices did they make on their W-4?
This reduces a painstaking, page-by-page review to a quick, 30-second check of only the most critical, action-oriented fields.
Step 5: Secure Distribution and Archiving
Once the packet is ready, use a secure method to send it to the new hire for their signature. After they've completed their part, the final, executed documents should be automatically archived in their official employee file. This creates a clean, digital audit trail for compliance and future reference.
By adopting this checklist, you turn onboarding from a chaotic paper chase into a clean, professional, and efficient digital workflow.
Checklist
- Create a Master Employee Profile with all personal, job, and payroll data.
- Group all standard new-hire documents (W-4, I-9, policies) into a packet template.
- Use a tool to auto-fill the entire packet from the Master Profile in one click.
- Focus your manual review only on signatures and elective choices, not static data.
- Securely distribute and archive the final, signed documents in the employee's file.
Related articles
 Multilingual Workflows
Arabic Forms with AI: Dual-Script Names, Hijri Dates, and RTL Layouts That Actually Work
Most tools translate the label and stop. Real Arabic form work needs dual-script names, Hijri dates, and a review layer that flows the right way.
9 min readRead more Visa Workflows
How AI Fills the DS-160 Visa Form in 4 Minutes (and What It Cannot Do)
The DS-160 takes 90 minutes the first time and 60 minutes the second time. AI can fill most of it in four. The interview still belongs to you and the consular officer.
8 min readRead more Tax Workflows
German Tax Forms with AI: A Practical Guide to Elster, Anlage N, KAP and S
Elster is mandatory for most filings, but the UX is brutal. Here is how Anlage N, KAP, and S really work, and how AI can pre-fill them from receipts and payslips before you submit through Elster.
8 min readRead more